Welcome to the start of term. I would like to say a big thank you to all families on such a smooth transition and warm welcome to 2013. This term our theme is Nursery Rhymes and we have been very busy exploring Hickory Dickory Dock.
We have made our very own grand father clock and explored the features of a clock. Did you know that clocks have a face and hands?
We looked at rhyming words and used this skill to help us change the lyrics and create our very own version of Hickory Dickory Dock. We also explored adjectives and how animals move. This is our class version;
| Hickory Dickory Dock 
Hickory Dickory Dock,
The bird flew over the clock,
The clock struck five,
He took a dive,
Hickory Dickory Dock.
| 
Hickory Dickory Dock,
The snake slithered up the clock,
The clock struck four he slithered out the door,
Hickory Dickory Dock.
| 
Hickory Dickory Dock,
The bear hopped up the clock,
The clock struck two,
He went achoo!
Hickory Dickory Dock.
|
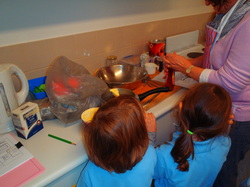
We have been looking at the concept of sequencing. We helped Mrs Beale to sequence the Hickory Dickory Dock pictures back into the correct order and retell the Nursery Rhyme. We also made delicious mouse biscuits and then retold the procedure to develop our oral language. We had to recall who, what, where, when, how as well as the ingredients. We then used ordinal positions to assist our retell. When we speak we need to look at the person we are speaking to, use a clear voice and use full sentences.
To assist our oral language we looked at the conventions of a narrative. We explored who, what, where, when, why and characters feelings. As a class, we then created our own narrative version of Hickory Dickory Dock. this is our story;
One night in a big house, the little white mouse ran up the clock. The Grand Father clock struck one and the little white mouse got scared, so he quickly ran down the clock.
In Literacy we our focusing on syllables, rhyme, initial sounds, oral language and text conventions. We have placed our Literacy goals on the pin up board in the classroom so you can see what we are focusing on each week. Our Numeracy focus is oral counting to 20 and beyond, reading numbers to 20, forming accurate numbers to 10 and positional language.
We have also been very busy learning how to play lots of new games. We will post photos of all our discoveries and exploration as the term progresses and the BLOG permission slips are returned.
Here you will be able to read all about activities happening within our class. Photos of students and their work will also be available.

We have been having lots of fun exploring our new home corner that is set up like a life boat station.
We have a life guard look out tower, a rescue boat, a rescue swim ring and first aid equipment in case of an emergency or accident.
Click on the images below to enlarge.
 Slip, slop, slap, wrap! |  Life guard to the rescue! |  Pirate Cove |  Ahoy me Hearties! |

Exploring Dive Equipment
The term is off to a flying start and we are busy exploring the theme of oceans and pirates. We have explored coral reefs and been diving with beautiful tropical fish. Did you know that coral are made up of tiny animals called polyps? They feed on drifting zoo plankton and some corals having stinging tentacles.
We looked at diving equipment and what each part was used for. We then placed them where they belong on a diver.

Our Dazzling Divers
We made our very own divers and wrote a sentence about "If I were a diver I would..." We then added four colour patterns to our wet suits. You can see our dazzling divers swimming about our classroom.

Click on the image to see a video of 'The Rainbow Fish'
We read the story 'The Rainbow Fish' by Marcus Pfister and discussed some of the characters. We then created some artwork using edicol and various textured materials for coral. We then added the character of Rainbow fish and the wise Octopus. We wrote a sentence using speech bubbles and explored phrases the characters might say.

We practiced our listening skills and followed Mrs Beale's instructions of 'how to build a sand castle.' We then placed pictures of each step in the correct sequence and retold the instructions.
Click on the images below to enlarge.
X marks the spot
We also discovered a message in a bottle from some Pirates that lead us on a treasure hunt around the school. We had to decipher the clues to find the buried treausre. The treasure was burried in our sand pit and the chest was filled with gold pirate coins. We each got to keep a coin!
 Digging for burried treasure | |

Well done to all the students who participated in todays sports carnival.
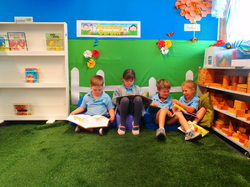
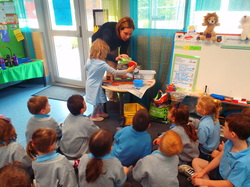
Reading in our Reading Garden.
We have been very busy continuing to explore our theme of minibeasts. So far, we have looked at bees, ladybirds, caterpillars, butterflies, spiders an earthworms. We have learnt many interesting facts about minibeasts, did you know;

Bees
Chianna: Bees have a proboscis.
Tahlia: Bees collect pollen on their legs and take it to their hive.
Liam H: Bees have wings.

Ladybugs
Anna: They have an elytra that protects their wings.
Faith: They have spots.
Paige: They eat aphids.

Spiders
Hudson: They have spinnerets to make a silk web.
Jayden Y: They have an abdomen.
Liam M: They have a thorax.
Mitchell: They have pedipalps to hold things.

Earthworms
Tyler: They breathe from their skin.
Aidan: Earthworms like to eat fruit.

Caterpillars
Giselle: They make a chrysalis to turn into a butterfly.
Ryder: They start off as an egg and then a caterpillar and they eat lots of leaves and make a chrysalis.

Butterflies
Olivia: Their wings are wet when they come out of the chrysalis and they have to wait for them to dry.
Jorja: It starts as an egg, then a caterpillar, then a chrysalis and then a butterfly.
Finn: They lay eggs and have antennas.
We made a worm farm with Mrs Checksfield and layered the soil so we can see the earthworms tracks.
Click on th images below to enlarge.
 Butterfly Eggs  Baby Caterpillars Our caterpillars have hatched from their eggs and begun to grow. They start out in life so small.
|  Caterpillar of the Monarch Butterfly They eat lots of leaves and grow into a larger caterpillar.
|  Making a chrysalis When they are large enough the caterpillar forms a sticky thread from its tail and hangs upside down. They thenshed their skin and use this to form a chrysalis.
 Butterfly Chrysalis | 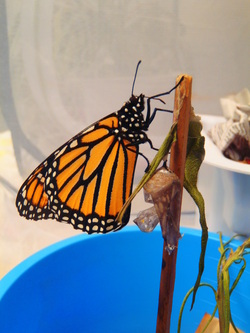 Adult Butterfly Once the butterfly is formed the chrysalis turns black and translucent. When the butterfly emerges their wings are wet and shrivelled. They must wait for the blood to fill their wings and dry out before they can fly.
| |
This term we are learning about Minibeasts. A minibeast is a small animal that does not have an internal skeleton. So, they need a tough exoskeleton to protect thier body. However, there are always exceptions to the rule like snails, slugs and earthworms!
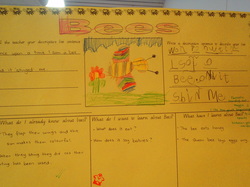
In week one we looked at bees. We discussed all the thing we knew about bees and made a KWL chart. This is what we Know, Want to know and have Learnt. We made bees and a hive to hang in our room. We learnt about the body parts if a bee and why they need a hive.
We watched the video "The Magic School bus: In a Hive" The students on the video turned into bees and went inside a beehive. Did you know that bees make honey? They collect nectar from flowers using thier pollen sack. Then they place it in a chamber inside their hive and carefully stir it with their proboscis. That is thier long tongue. Then they evaporate all the water and cool down the nectar by flapping their wings. We go to taste honey and then brainstormed a list of describing words. We then sorted our words into groups of words that described honey and those that didn't.
We learnt that bees need honey to feed their young. We also learnt that bees communicate by dancing. Did you know that if a bee stings you the bee dies?
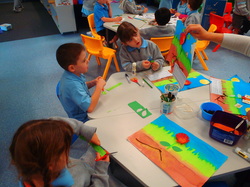
We made flowers and labelled the parts to create a diagram. First we pinted the bckground using edicol dye. We had to start on the left an sweep across our page. We used 3 different colours to make the sky, grass and soil. Then we cut snips into a patty pan to make the petal for the fower. We added a star fo the stem and card for the leaves. We sprinkled orange powder for the pollen and added wool roots. We then stuck on some bees to collect the pollen.
| |
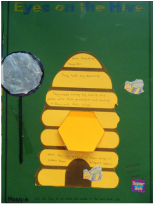
We also made beehives and added bee facts to each section. You can even lift the flap and see the honeycomb chambers inside the hive with the pretend magnifying glass!

In week 2 we looked at Ladybugs. We explore thier lifecycle and learnt that a ladybug starts out as an egg. They then become a larva which attaches their tail to the under side of a leaf and becomes a pupa. When the pupa grows it turns into an adult ladybug. We created a lifecycle of a ladybug using rice for the eggs, plasticine for th larva, thick fur for the pupa and a sticky dot for the ladybug.
| 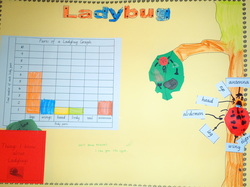 We also made a ladybug and labelled it's body parts to create a diagram. We then counted the number of each body part to create a graph. We then brainstormed facts we had learnt about ladybugs and shared them with a partner. We then added our facts to some leaves to puton our ladybug fact sheet.
| 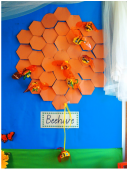
Our class beehive
|

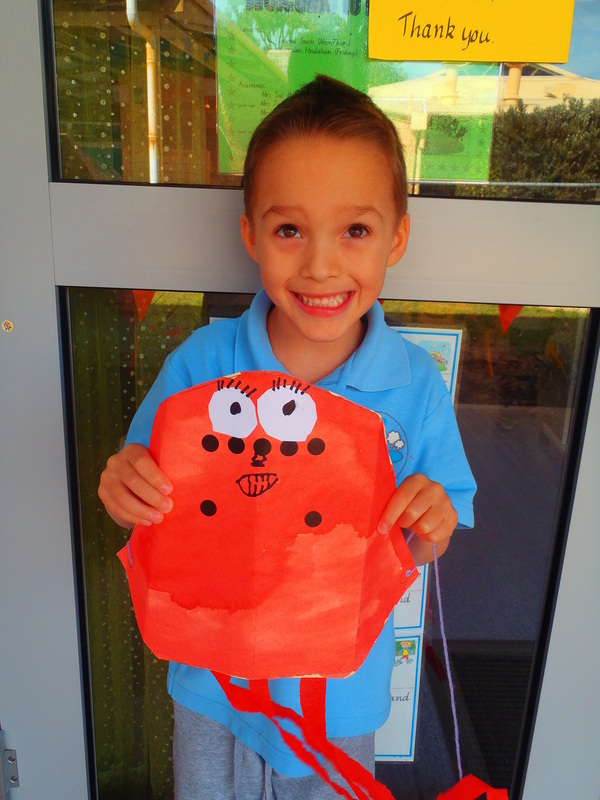
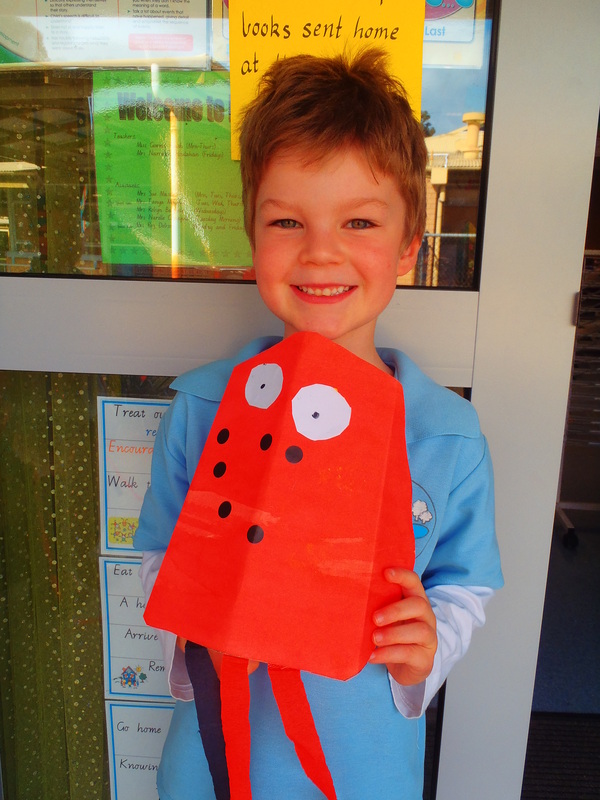
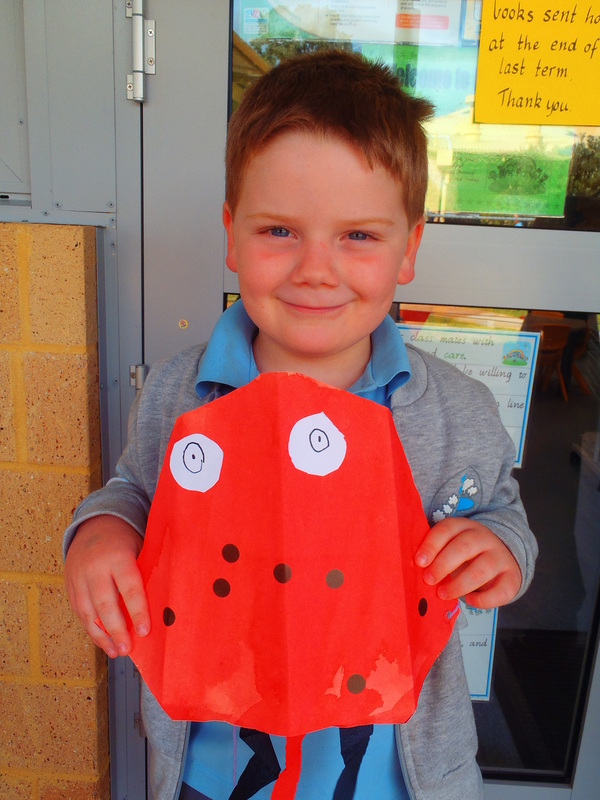
We made our very own ladybug kites and had to add 7 spots, just like the seven spotted ladybug.
Looking for something to keep the kids busy while on holidays? We have just uploaded some new cutting resources for your child to use at home. Feel free to have a look in the strategies and information section. Happy cutting!

Our class has just purchased some new resouces for us to use in the classroom.
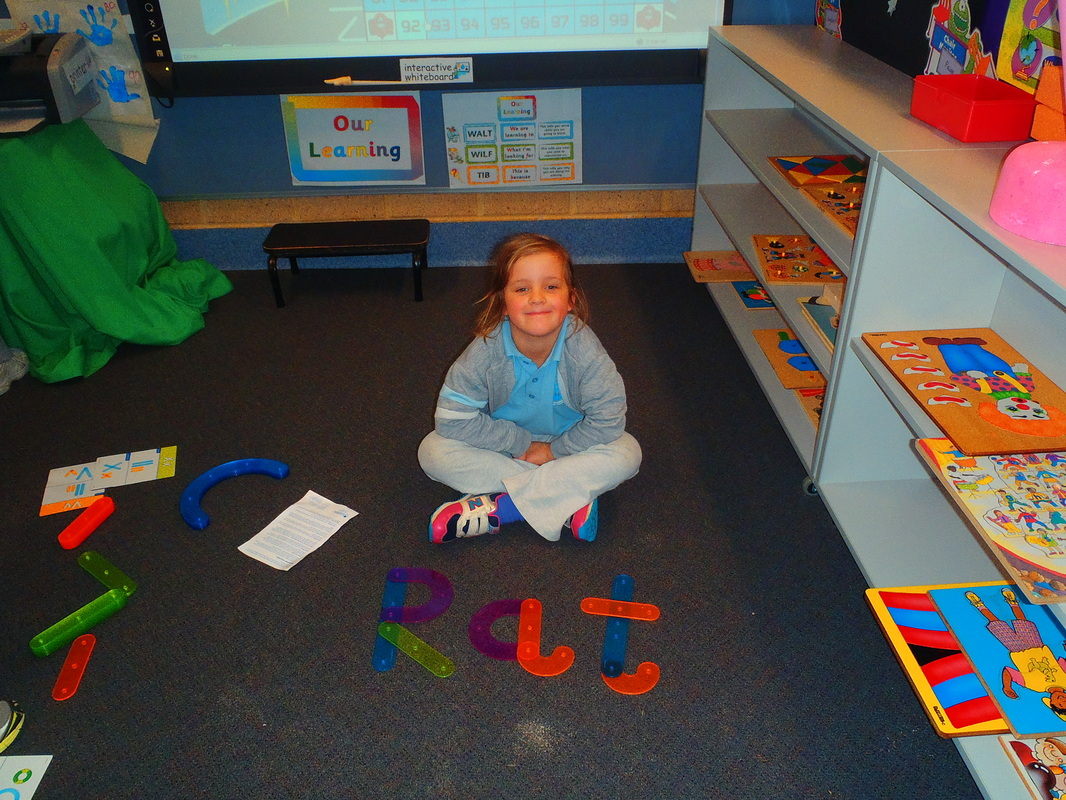
One of the resources are our construction letters. We use the instruction cards to build the letters. We have then been using our letters to make words.

We alos purchased a card chute. We can place different cards into the chute to play different games. In one of the games we played, we had to look at the picture on the card and say the sound it starts with. When then put the card in the chute and the card flips over and tells us the answer. If we get it right we get to collect a block. The person with the most blocks at the end wins.
 We also played a game using water beads. They are squishy beads that feel very soft and watery.
|  We rolled a dice and found a letter in the water bead bucket. Ten we had to say the letter name, the sound it makes, a word that starts with that sound and then put the word into a sentence. If we got it correct we could move our counter on the game board.
|
 we are continuing to practise our letter recognition and sounding out simple words. We are so clever that we worked in pairs to read a simple sentence and match it to the correct picture.
|  We know that a sentence starts with a capital letter, there are spaces between each word and a sentence finishes with full stop.
|
 As a part of our letter focus we looked at the letter 'g'. We read the story the "Gingerbread man" and did lots of exciting activities. We painted a background for our Gingerbread man story and then dictated a setting for our painting.
|  We created a Gingerbread man story on the felt boards and shared our narratives with a friend.
|  We made Gingerbread men using eggs, flour, ginger, butter, cherries and sultanas. First we designed our gingerbread man on a sheet of paper and used sight words to help us write the ingredients. When then made our Gierbread men following our design. When we had finished we sequenced the pictures from the recipe and retold the procdure.
|
 Our deliscious Ginerbread men.
| 
|

This week we have been very busy exploring letters. We are continuing to focus on blending and segmenting letter sounds to make words.
Blending is when you hear the sounds in a word, for example:c-a-t and blend them together to make the word cat.
Segmenting is when we hear a word and sound out or segment the sounds. For example, leg has the sounds l-e-g.
Blending and segmenting help us to read and write. That is why it is very important that we can hear the letter sounds and articulate them correctly. There are many different games that can help us to hear the letter sounds. We looked at the picture segmented the sounds and found magnetic letters to form the word!
We have also revised the sounds and names of letters and played lots of different games that help us to recognise letters and the sound they make. We had to read the letter and find pictures that started with that sound.
We also went digging for treasure and had to find gold coins in the tub. When we found a coin we had to read the word. If the word was real we wrote it on our whiteboard, if the word was made up we put it back in the tub.
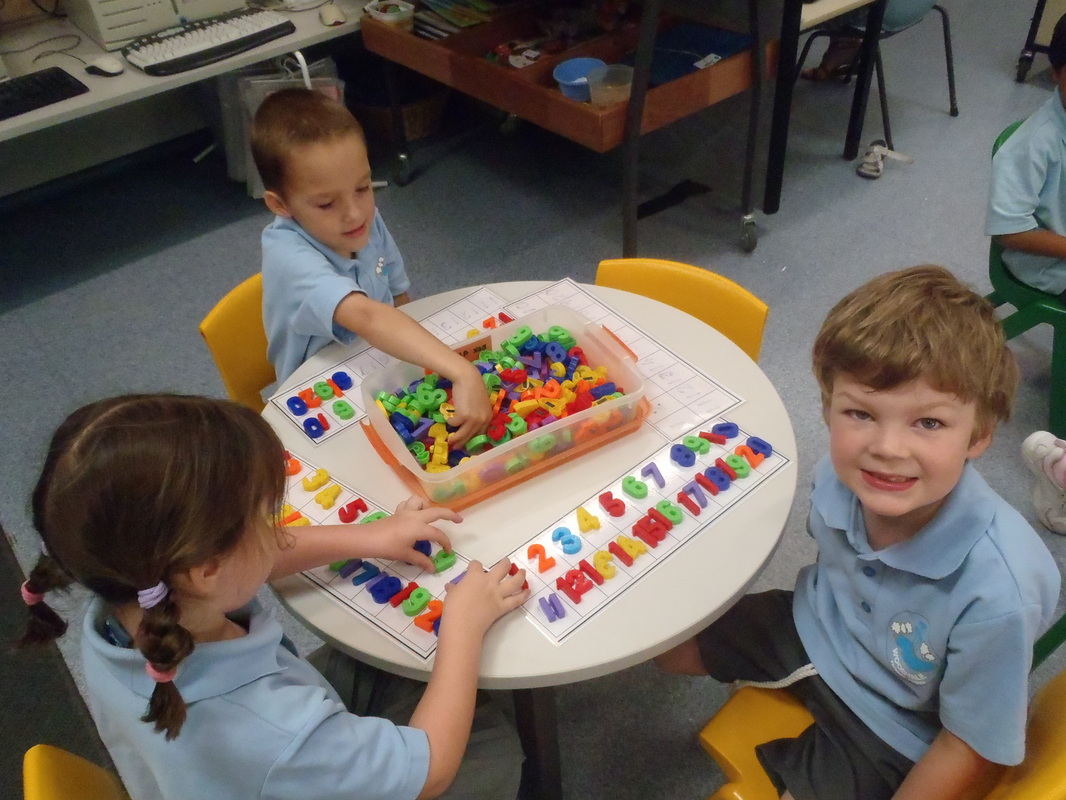
 In Maths we are exploring numbers beyond 20. We used MAB blocks to help us understand the value of numbers and learnt that a two digit number like 45 is not a 4 and 5 but 40 and 5 more.
|  We then sequenced numbers and the teacher pointed to the numbers out of order and we had to tell her what they were.
|
More maths around the room

We are also focusing on our listening and speaking skills to ensure we speak clearly and understand what the speaker has said. To develop our listening skills we played a barrier game on the mat where we had to listen very carefully to Mrs Beale's instructions and place the correct coloured counter on the correct place on our boards.
To develop our speaking skills we played a guess the picture game where we had to describe a picture to the group and they had to guess what we were holding. We then made a detctive book with a secret lift the flap and gave clues to decribe what was hiding behind the flap.